Crack into Creativity with These 6 Egg Decorating Ideas for Easter
Easter is right around the corner, and I couldn't be more excited. It's the perfect time to break out your creative side and decorate some eggs! But if you're like me, it's easy to get stuck in a rut with the same old egg decorating techniques. That's why I've come up with six unique and crafty Easter egg designs to inspire you. From traditional dyeing to glitter and glam, there's something for everyone. So grab your eggs and let's crack into creativity! Get ready for some funny Easter egg projects, DIY Easter egg inspiration, and creative egg painting techniques. This year, you'll have the most egg-citing Easter yet.
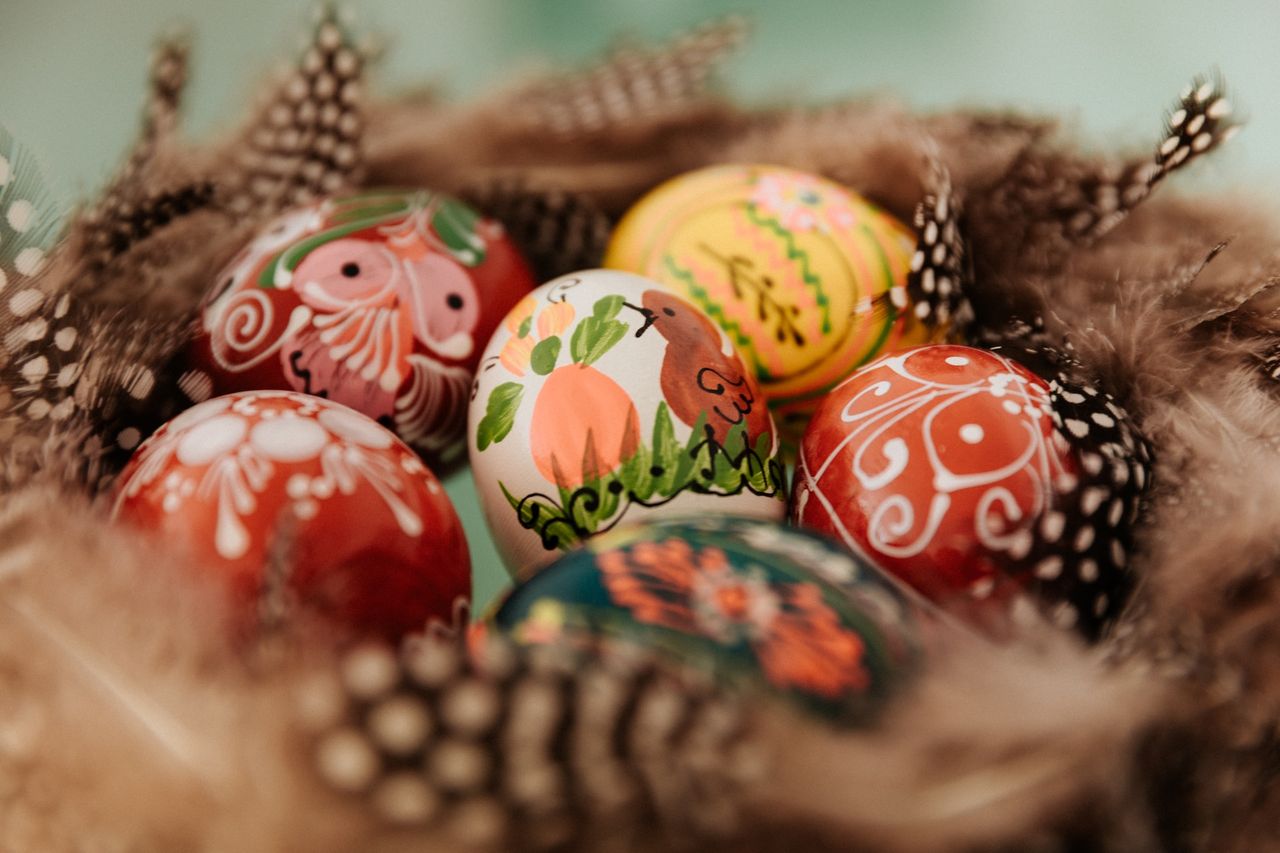
Dyeing Easter Eggs: Traditional But Never Boring
Let's face it: dyeing Easter eggs is a timeless tradition that everyone loves. But just because it's been done for ages doesn't mean it has to be boring. There are SO many fun ways to dye Easter eggs that will make your creations stand out.
First things first, let's talk about natural dyes. Not only are they better for the environment, but they also produce beautiful, muted colors that you won't find in store-bought dye kits. Some great options include onionskin, beets, and even coffee grounds!
If you want to take your egg dyeing up a notch, try experimenting with different techniques. For example, try wrapping your eggs with rubber bands, tape, or even string before dipping them into the dye. This will create unique patterns and designs that are sure to impress.
Another fun option is using a color resist method. Draw or write on the egg with a white crayon before dipping it into the dye. The wax will resist the dye, leaving behind the design you drew on the egg.
Overall, the possibilities for dyeing Easter eggs are endless. Don't be afraid to get creative and try new things. Who knows? You might just come up with the next big thing in egg decorating!
Sticker Eggs: For the Lazy and the Lovelorn
Let's be honest, not everyone has the time or patience to sit and delicately paint intricate designs onto their Easter eggs. And that's okay! That's where sticker eggs come in. This egg decorating method is perfect for those who are short on time or just don't feel like getting overly crafty.
All you need are some stickers and some eggs (obviously). You can find Easter-themed stickers at almost any craft store or even in the seasonal sections of grocery stores. But don't limit yourself to just Easter-themed stickers, any stickers will do! Grab some fun, colorful stickers or even some superhero stickers if that's what you're into.
All you have to do is stick the stickers onto the eggs and you're done! It's that simple. You can even get creative with it and use the stickers to create fun faces or designs. This method is perfect for kids and adults alike, and it's a great way to add some festive cheer to your home without breaking a sweat.
So, if you're feeling lazy or lovelorn this Easter season, why not give sticker eggs a try? They're quick, easy, and still allow you to be creative.
Decoupage Eggs: The (Sometimes) Fancy Alternative
If you're looking for an egg decorating method that's both fancy and fun, decoupage is the way to go. This technique involves covering the surface of your egg with decorative paper or fabric using Mod Podge or a similar adhesive. The end result is a unique, textured egg that looks like it was professionally designed.
To get started with decoupaging your eggs, you'll need some patterned paper or fabric that you like. You can use anything from scrapbook paper to tissue paper or even a vintage handkerchief. Cut your paper into small pieces or strips, and set aside.
Next, using a foam brush or a regular paintbrush, apply a thin layer of Mod Podge to your egg. Then, place your paper pieces onto the egg, overlapping them slightly and smoothing out any air bubbles or wrinkles. Continue adding paper until the entire egg is covered, taking care to match up patterns or colors as you go.
Once you've covered your egg, apply another layer of Mod Podge on top of the paper to seal it in place. You may need to add a few more layers, letting each layer dry for about 15 minutes in between.
If you want to get really fancy, you can add additional embellishments like lace or ribbon to your decoupaged egg. Just make sure to secure them with a small dab of Mod Podge or glue.
With decoupage, the possibilities are endless. You can experiment with different paper patterns and colors, or even layer different types of paper to create a more unique and textured egg. So go ahead and get creative - your Easter eggs will thank you!
Glitter and Glam Eggs: Sparkle and Shine Like a Pro
Are you a fan of all things shiny and glittery? Then this egg decorating idea is perfect for you! Adding glam to your Easter eggs is easy and fun with just a few materials and a bit of patience.
First, gather your supplies: glitter, sequins, rhinestones, and glue. You can use any combination of these materials or just stick to one for a more cohesive look. Next, prep your eggs by dyeing or painting them in a solid color of your choice. Once the base color is dry, it's time to add some bling!
Start by applying a thin layer of glue to a small area of the egg. Then, sprinkle the glitter or sequins onto the glue, making sure to cover the entire area. Gently press down on the glitter or sequins to ensure they stick to the glue. Repeat this process in small sections until you've covered the entire egg with glitter or sequins.
If you're using rhinestones, apply a small dot of glue to the back of each one and press it onto the egg. You can add them in patterns or randomly for a more scattered look.
Once you've decorated all of your eggs, let them dry completely before handling them. These glitter and glam eggs are sure to turn heads and add some sparkle to your Easter decor!
So go ahead and get your bling on with these egg-straordinary decorating ideas!
Chalkboard Eggs: Write Your Easter Message in Style
Looking for a fun and personalized way to decorate your Easter eggs this year? Look no further than chalkboard eggs! With a little bit of chalkboard paint or some chalk markers, you can turn simple eggs into charming works of art.
To get started, you'll need some eggs (of course), chalkboard paint or chalk markers, and a steady hand. First, paint your eggs with a coat of chalkboard paint and let dry completely. Then, using your chalk markers, draw your design or write your message on the eggs. Don't worry if you make a mistake – just wipe it off with a damp cloth and start again!
One great thing about chalkboard eggs is that you can write a different message on each egg, making them perfect for Easter egg hunts or as fun and playful decorations around the house. Plus, unlike with traditional egg dyeing methods, there's no need to worry about your chalkboard eggs getting smudged or losing their color – they'll stay looking fresh and cute all season long.
Whether you're writing silly messages or creating detailed designs, chalkboard eggs are a creative and unique way to decorate your Easter eggs this year. So hop to it and give them a try – you're sure to have a blast!
Carved Eggs: Make Your Eggs Stand Out with Depth and Detail
Are you looking for a way to take your Easter egg decorating game to the next level? Why not try carving your eggs for a unique and impressive look? Carving eggs may seem intimidating, but with a few simple tools and some patience, you too can create intricate designs on your eggs.
First, gather your supplies. You'll need a Dremel or a sharp knife, and of course, some eggs. Hard-boiled will work, but if you want to display your carved eggs for longer, you may want to consider blowing out the egg first.
Next, decide on your design. You can use stencils to trace your design onto the egg, or go freehand if you're feeling adventurous. You can even use a pencil or fine-tipped marker to draw your design directly onto the egg.
Once you have your design in place, begin carving. Take your time and be gentle, as eggshells can be fragile. Use a Dremel with a fine carving bit or a sharp knife to carefully carve away at the eggshell. Be sure to work in a well-ventilated area, as eggshells can produce dust that could be harmful if inhaled.
As you carve, you'll start to see your design come to life. You can create depth and detail by carving deeper into the eggshell or by making tiny cuts or punctures. Don't worry if you make a mistake or accidentally crack the egg – you can always start over with a fresh one.
Once you're happy with your carved design, you can display your egg as is or give it a coat of paint or glitter for an extra pop of color. Your carved egg is sure to stand out and impress your Easter guests.
So grab your tools and get carving – with a little patience and creativity, you can make your Easter eggs truly egg-ceptional.
Conclusion: Hop into Creativity with These Egg-cellent Ideas
Well, there you have it, folks! Six egg decorating ideas that will spark your creativity and make your Easter eggs stand out. From traditional dyeing techniques to fancy decoupage designs, from glittery glam eggs to carved eggs with depth and detail, there's an egg decorating idea for everyone in this post.
Whether you're looking to try something new this Easter or just need some DIY inspiration, these crafty and funny Easter egg projects will definitely do the trick. So break out the paints, stickers, and glitter, and get your Easter egg decorating groove on! Who knows what kind of creative egg painting techniques you might come up with on your own?